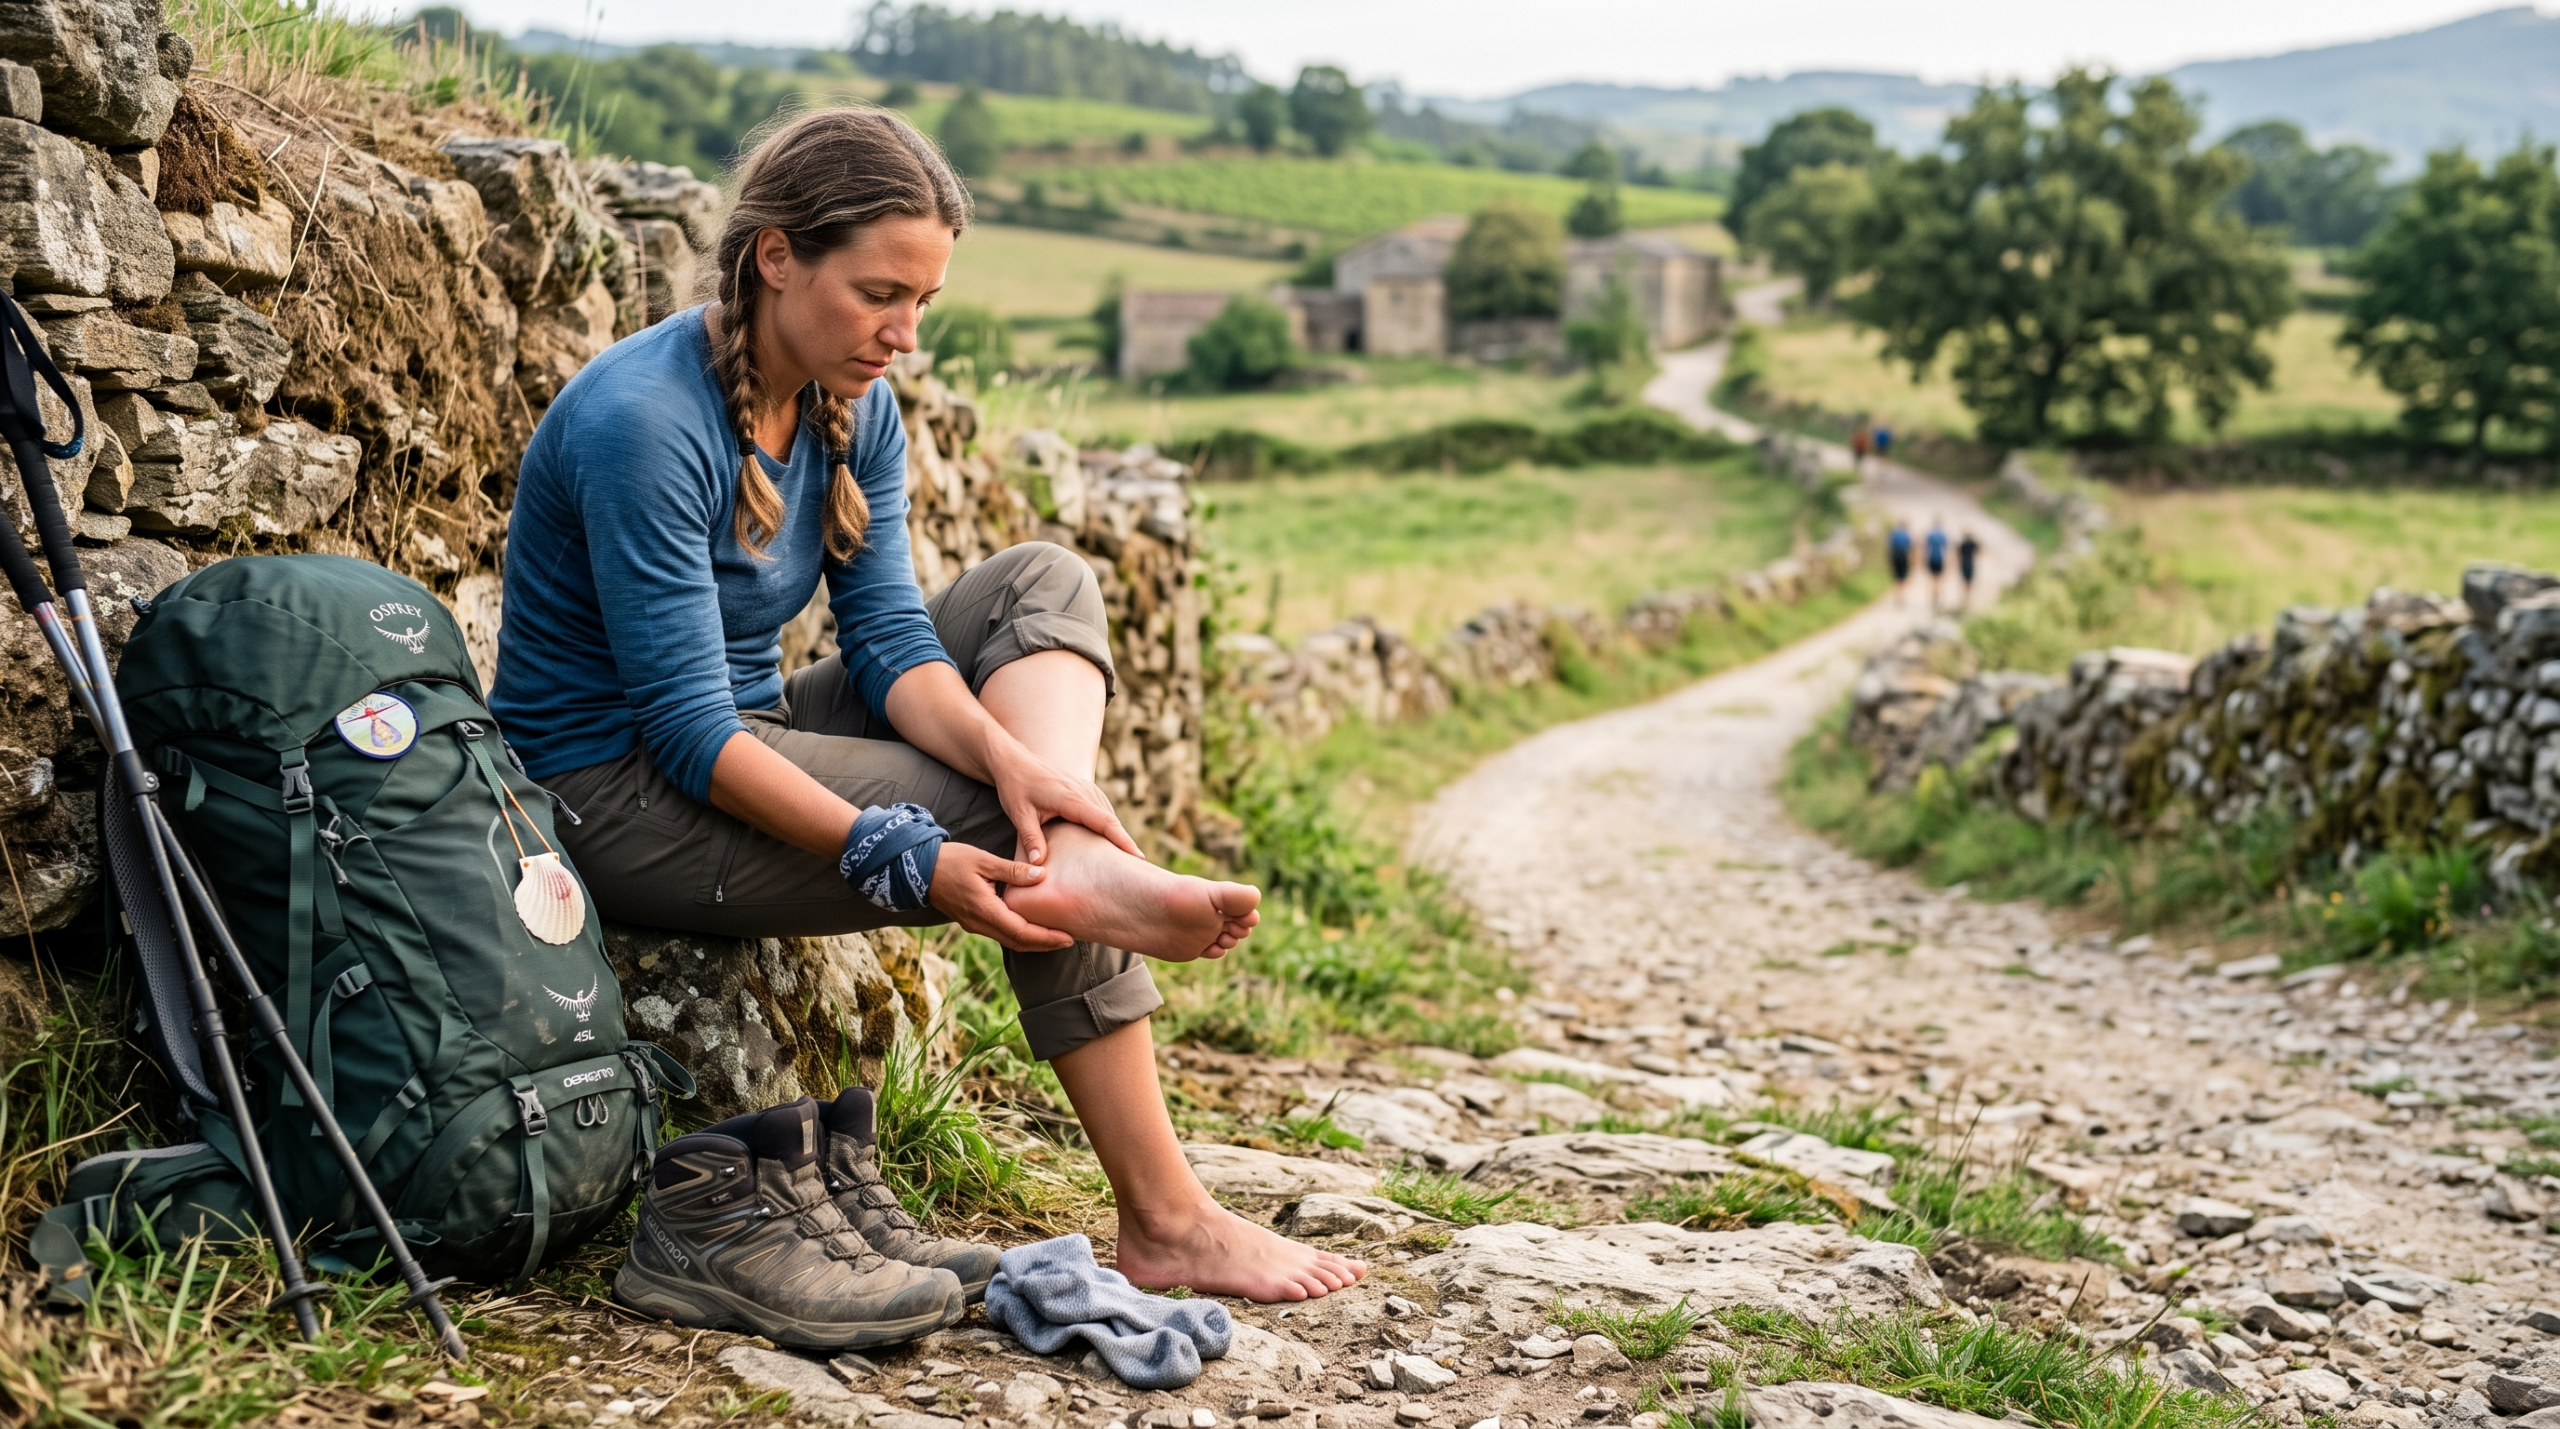
Blisters are the most common problem for those walking the Camino de Santiago and, at the same time, one of the easiest to avoid. Just one poorly treated point of friction can transform a beautiful stage into a painful walk, or even force you to stop for a day or two.
The good news is that almost all blisters are caused by known factors: inadequate footwear, humidity, friction, and lack of preparation. We’ve gathered 10 practical tips to help you arrive in Santiago with healthy feet, plus a quick guide to treating a blister should one appear.
Table of Contents
Tip 1: Never wear brand new shoes for the first time.
The shoes you will wear on the Camino must be well broken in before you set off, that is, molded to your foot and without stiff areas that create friction.
Ideally, wear the boots or sneakers for several weeks before the trip, accumulating at least 50 to 100 kilometers of training. This way you’ll discover where the footwear pinches and if the size is really right. As feet swell throughout the day, and even more so after hours of walking, the footwear should have a comfortable gap in the toe area.
Wearing brand new shoes for the first time is almost a guaranteed recipe for ending the day with blisters.
Tip 2: Test the socks and insoles
Socks make as much of a difference as shoes, but they are often forgotten. Avoid cotton socks, which retain moisture and create friction when sweaty. Opt for technical, synthetic, or merino wool socks, which wick away perspiration and keep your feet drier.
Many pilgrims use the two-layer technique: a thin inner sock and a thicker one on top. This way, the friction occurs between the two socks, and not against the skin. There are also anti-blister socks with this double layer already integrated.
Test everything during training, never on the first day. The same goes for insoles: if you plan to replace the original ones with more cushioning ones, use them beforehand to ensure they don’t alter the fit of your foot.
Tip 3: Trim your nails correctly.
Poorly cared-for toenails cause more problems than you might think, especially on long descents when your foot slides forward and your toes hit the edge of the slope. If they are too long, they can hurt neighboring toes, come loose, or turn black.
Trim them a few days before you leave, always straight across and never in a curve, to reduce the risk of ingrown nails. It’s also not advisable to cut them too short, as this irritates the surrounding skin. Ideally, they should be short, but not completely cut, and without sharp edges or burrs. Trimming your nails the day before gives you time to correct any discomfort at home.
Tip 4: Moisturize your feet
Well-hydrated skin is more resilient skin. In the weeks leading up to the Camino, apply cream to your feet every day, especially if you tend to have dry skin or calluses and cracks on your heels. Flexible skin breaks and blisters much more easily than cracked skin.
During the Camino, apply cream at night after washing and thoroughly drying your feet. In the morning, your feet should be dry before putting on your socks: excess cream combined with heat creates moisture, and moisture is synonymous with blisters. The trick is to find a balance: moisturize to strengthen, but never put on your socks if your feet are damp or oily.
Tip 5: Train with a loaded backpack.
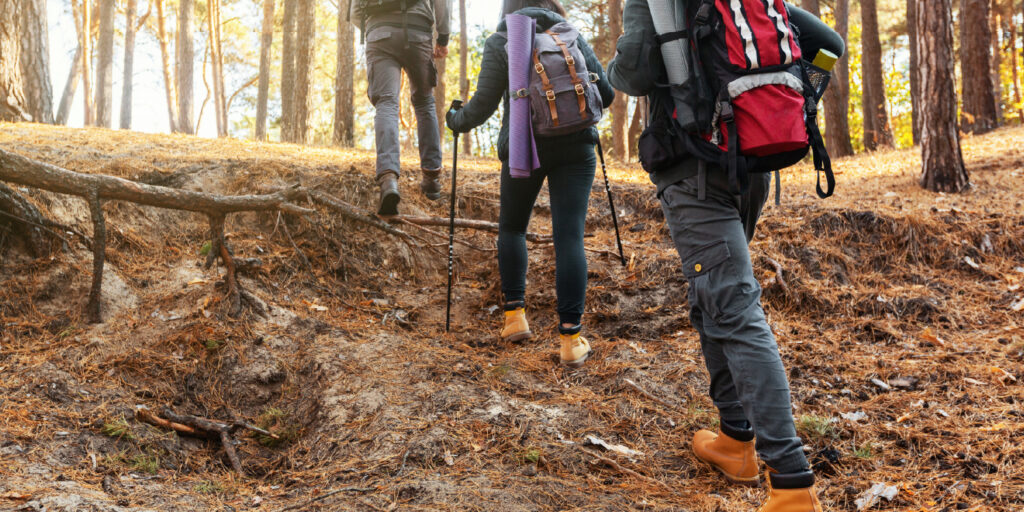
The weight on your back changes everything. A full backpack increases the pressure on your feet with every step and alters the way you walk, creating new points of friction. Therefore, don’t just practice walking. Practice with the backpack you will be carrying and with a weight close to the actual weight, so that your body, and your feet in particular, adapt ahead of time.
Also, review what you’re carrying: the lighter the backpack, the less strain on your feet. The usual rule is not to exceed about 10 percent of your body weight. Leaving unnecessary items at home is one of the simplest ways to protect them.
Tip 6: Nighttime cleaning and ventilation
What you do at the end of the day counts as much as the walk itself. When you reach your stage destination, take off your shoes and socks and let your feet breathe. Wash them well with soap and water, removing all perspiration and dirt, and dry them carefully, paying attention to the spaces between your toes, where moisture accumulates.
Then, let your feet breathe as much as possible and wear flip-flops or sandals in your accommodation. Air out your footwear too: remove the insoles and open your boots wide to dry overnight. Wash sweaty socks, hang them to dry, and always have a spare pair. Clean, dry, and rested feet arrive much stronger for the next stage.
Tip 7: Make strategic stops.
Walking for hours on end accumulates heat, moisture, and friction—the perfect combination to create blisters. Taking breaks helps break this cycle. Every two hours, sit down, take off your shoes and socks, and let your feet air out for a few minutes.
Take the opportunity to check for any red or sensitive areas and change your socks if they get damp. Carrying a second pair in your backpack keeps your feet dry and makes all the difference on longer stages. A five-minute break in time can prevent many hours of pain later on.
Tip 8: Reduce friction with specific products.
Most blisters are caused by friction, so reducing it is one of the most effective strategies. There are several options, and each pilgrim eventually finds the one that works best for them.
Vaseline is a classic, inexpensive option: a thin layer on the most prone areas, such as heels, toes, and soles of the feet, reduces friction first thing in the morning. There are also anti-friction creams and balms specifically for sports, which last longer. Alternatively, some people prefer talcum powder or specific foot powders, which absorb moisture and keep the skin dry.
Apply in the morning, before putting on your shoes, and reapply at one of the rest stops if the stage is long. If you already know your weak points from training, you can protect them from the start with a special adhesive or hydrocolloid bandage, even before you feel discomfort.
Tip 9: React to the first signs.
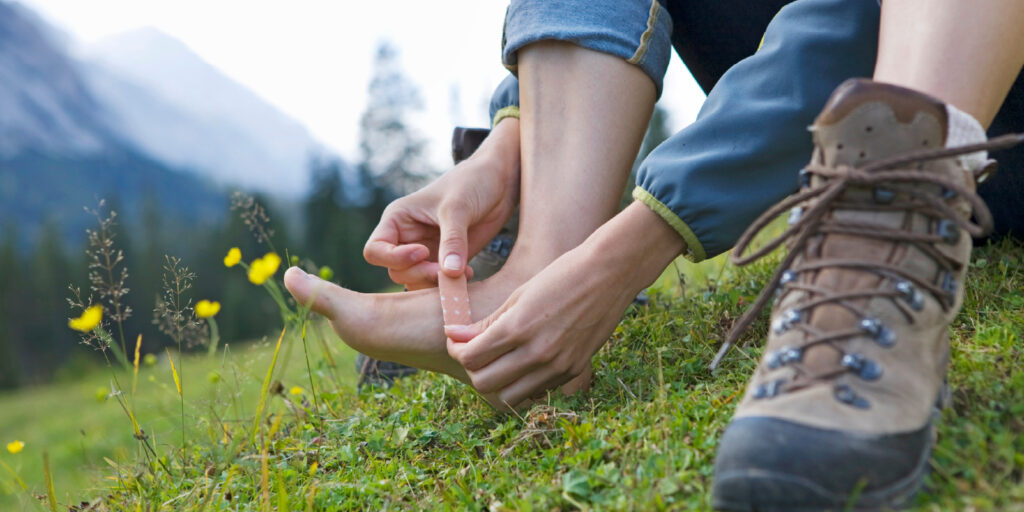
A blister rarely appears without warning. Before it forms, you almost always feel a “hot spot,” an area that starts to burn or become sensitive. Ignoring this sign is the most common mistake, and walking over it for another two hours turns a minor discomfort into a serious blister.
As soon as you feel the warning, stop immediately. Take off your shoes, dry the area, and protect it before the skin gets hurt. A well-applied fabric adhesive or hydrocolloid dressing over the hot spot usually solves the problem and allows you to continue safely. Listening to your feet in the first few minutes will save you days of suffering.
Tip 10: Tighten your laces well and readjust throughout the day.
Poorly fastened shoes allow the foot to slip inside, and this constant slipping creates friction, especially on descents. Knowing how to properly tighten your laces is a simple tip that many pilgrims discover too late.
The foot should be firmly in place, without slipping forward, but without the shoe cutting off circulation. On uphill climbs, slightly loosen the instep area; on downhill climbs, tighten the top part to secure the foot and prevent the toes from hitting the toe box. Readjust the laces throughout the day, as the foot swells and the terrain changes.
With preparation, good footwear, appropriate socks, and attention to the first signs, it’s possible to complete the Camino de Santiago without blisters, or at least without them becoming a problem. Take care of your feet, for they are what take you to Santiago.
Buen Camino.